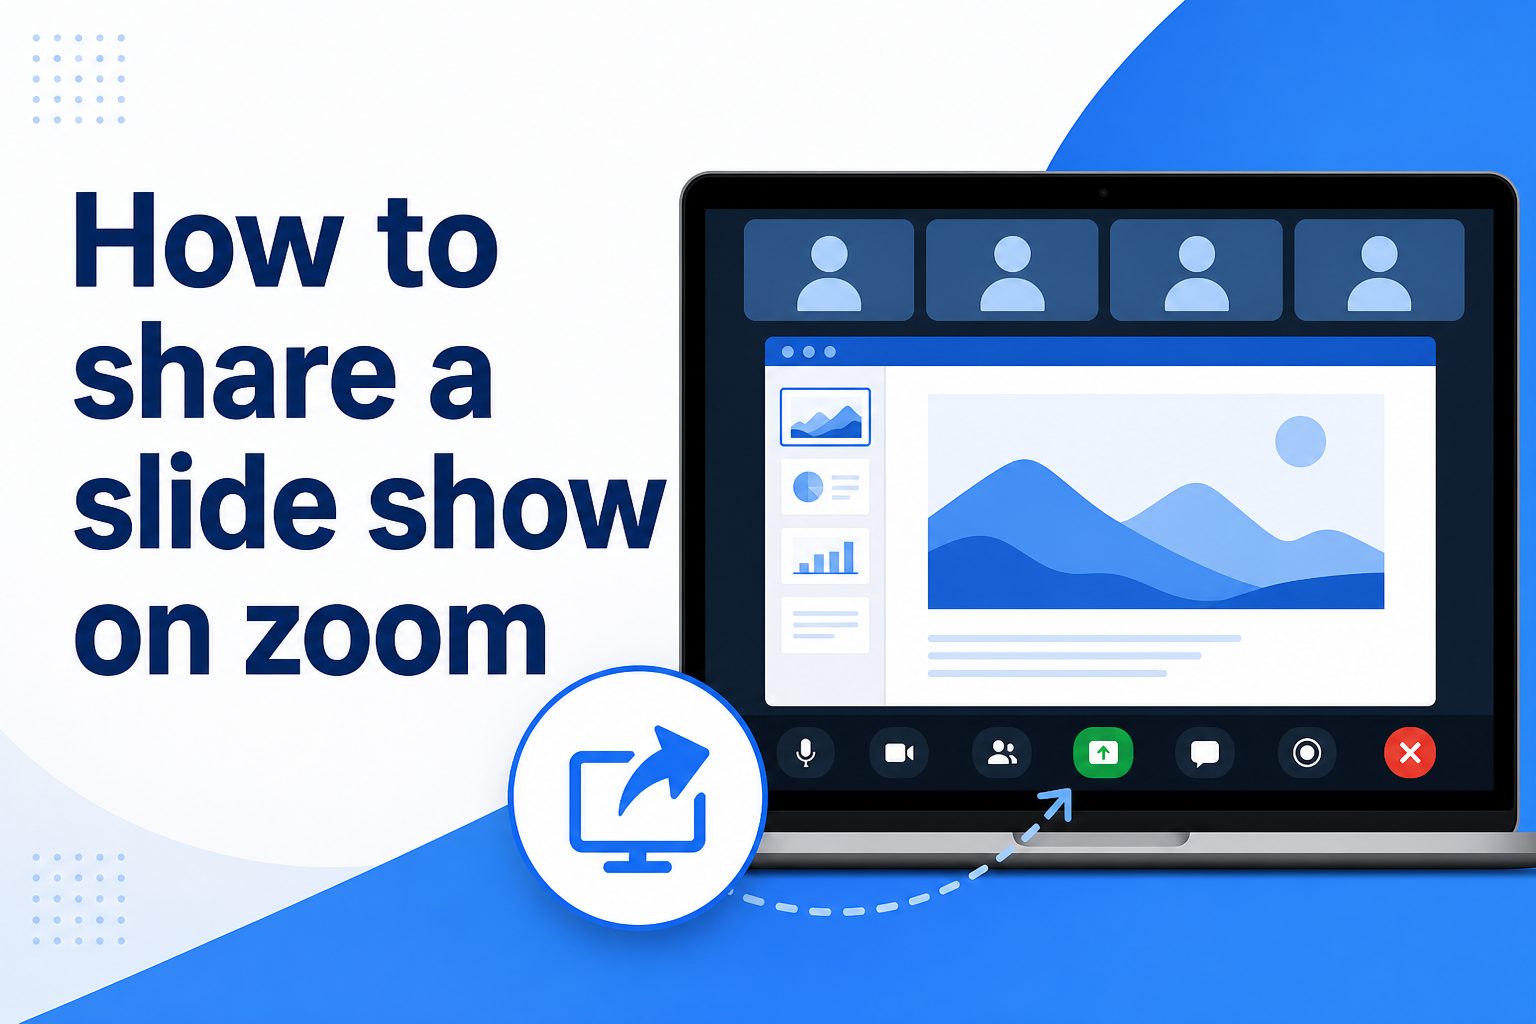
Knowing how to share a slide show on Zoom is useful for work meetings, online classes, webinars, training sessions, sales calls, and family events. A good slide show helps people follow your message, but the way you share it matters just as much as the slides themselves. If your screen is confusing, your notes are visible, your audio is missing, or participants cannot see the correct window, the presentation can quickly feel unprofessional. The good news is that Zoom makes slide sharing simple once you know the right settings. In this guide, you will learn what slide sharing means, why it matters, how to present PowerPoint or Google Slides smoothly, how to use presenter view, how to avoid common mistakes, and how to make your Zoom presentation clearer for every audience.
What Sharing A Slide Show On Zoom Means
Sharing a slide show on Zoom means showing your presentation screen to meeting participants while you speak, explain, teach, or demonstrate. It can be done with PowerPoint, Google Slides, Keynote, a PDF, or any other presentation window.
1. Screen Sharing Shows Your Presentation
When you share your screen, Zoom broadcasts the selected window or desktop to everyone in the meeting. For slide shows, this usually means choosing the presentation window instead of your entire desktop so participants see only the content you want them to focus on.
2. Slide Show Mode Creates A Cleaner View
Slide show mode displays your slides full screen, hiding editing tools, thumbnails, menus, and design panels. This makes the presentation look polished and easier to follow, especially for audiences who are watching on small laptop screens, tablets, or mobile devices.
3. Presenter View Helps You Stay Organized
Presenter view can show your speaker notes, upcoming slides, and timer while participants see only the main slide. This is helpful when you need prompts, but it requires careful screen selection so private notes are not accidentally shared.
4. Audio And Video Need Separate Attention
If your slide show includes sound, music, or embedded video, you may need to enable computer audio while sharing. Without this setting, participants may see the video but hear nothing, which can interrupt lessons, demos, or training sessions.
5. Zoom Sharing Works Across Devices
You can share a slide show from Windows, Mac, browser-based apps, and mobile devices. The exact buttons may look slightly different, but the core process is similar: open the presentation, join Zoom, choose Share Screen, and select the correct window.
6. Good Sharing Includes Good Delivery
Sharing slides is not only a technical action. You also need to pace your speaking, check that participants can see the slides, keep transitions smooth, and avoid switching windows unnecessarily. The best Zoom presentations feel simple because the setup is controlled.
Why Slide Sharing On Zoom Matters
Slide sharing matters because it turns a remote conversation into a visual experience. It gives structure to your message, improves attention, and helps people remember the most important points after the meeting ends.
- Clearer Communication: Slides help organize complex information into sections, visuals, examples, and key takeaways that are easier to follow than speech alone.
- Better Engagement: A well-shared slide show keeps participants focused because they have something visual to track while listening.
- More Professional Meetings: Clean screen sharing shows preparation and reduces distractions caused by messy desktops, open tabs, or visible notes.
- Easier Teaching: Teachers, trainers, and coaches can explain processes step by step while learners follow the same visual reference.
- Stronger Presentations: Sales teams, consultants, and presenters can guide people through benefits, data, examples, and decisions in a structured way.
How To Share A Slide Show On Zoom Step By Step
The basic process is simple, but doing the steps in the right order prevents awkward pauses and technical issues during the meeting.
- Open Your Slide Deck: Launch PowerPoint, Google Slides, Keynote, or your chosen presentation tool before the meeting begins.
- Start The Slide Show: Put the deck into slide show or presentation mode so the audience sees a clean full-screen version.
- Join The Zoom Meeting: Enter the meeting early so you have time to check your microphone, camera, and screen sharing options.
- Select Share Screen: Click the Share Screen button in Zoom and review the available windows before choosing one.
- Choose The Correct Window: Select the slide show window, not the editing window, unless you need to demonstrate how the slides were made.
- Share Computer Sound If Needed: Enable sound if your presentation includes video clips, narration, music, or audio examples.
- Confirm The Audience View: Ask participants if they can see the first slide clearly before you begin the main presentation.
- Move Through Slides Smoothly: Use keyboard arrows, a clicker, or presenter controls to advance slides without switching screens.
Best Zoom Settings For Slide Shows
Zoom includes several settings that can improve your slide show experience. Using the right ones depends on whether you are presenting static slides, videos, animations, or speaker notes.
Choose Window Sharing For Privacy
Window sharing is usually safer than sharing your entire desktop because it limits what participants can see. If a notification appears, another document opens, or you need to check something privately, the audience is less likely to see unrelated information.
Use Desktop Sharing For Complex Demos
Desktop sharing can be useful when your slide show includes switching between a deck, browser, spreadsheet, or software demo. Use it carefully, close unnecessary apps, and clean your desktop beforehand so the audience is not distracted by unrelated windows.
Enable Computer Audio For Media
When your slides contain video or audio, enable computer sound before you start presenting. This allows participants to hear media directly from your device instead of through your microphone, which usually sounds clearer and avoids echo or muffled playback.
Optimize For Video Clips
If your slide show includes motion-heavy video, choose the option that optimizes sharing for video. This can make playback smoother for viewers, although it may reduce sharpness for text-heavy slides, so use it only when video quality matters.
Hide Floating Meeting Controls
Zoom controls can sometimes cover part of your slide while you present. Move them to a less important area of the screen or hide them when possible, especially if your slide has important text, charts, or buttons near the top edge.
Test Dual Monitor Settings
If you use two monitors, Zoom may show presenter view on one screen and the audience slide on the other. Test this before the meeting so you know which display is being shared and where your notes will appear.
PowerPoint Slide Show Sharing On Zoom
PowerPoint is one of the most common tools for Zoom presentations. It works well when you prepare the deck, sharing mode, and presenter view before participants are waiting.
1. Open PowerPoint Before Sharing
Open your PowerPoint deck before clicking Share Screen in Zoom. This helps Zoom detect the correct window and saves time during the meeting. If the file is large or includes video, opening it early also reduces loading delays.
2. Start From The First Slide
Use the slide show button or keyboard shortcut to begin from the first slide. If you start from editing mode, participants may see thumbnails, comments, formatting tools, or unfinished content that makes the presentation look less prepared.
3. Pick The Slide Show Window
After starting the presentation, return to Zoom and choose the slide show window from the sharing options. The correct window usually displays the full slide preview, while the editing window shows PowerPoint menus and side panels.
4. Use Presenter View Carefully
Presenter view is useful when you need notes, timing, and previews, but it can confuse screen sharing if the wrong monitor is selected. Always verify that the audience sees the full slide rather than your notes or next-slide preview.
5. Check Animations And Transitions
Animations can work well on Zoom, but complex transitions may appear delayed for participants with slower internet. Keep important information visible long enough for everyone to read it, and avoid relying on very fast animations for key points.
6. Share Videos With Sound Enabled
If your PowerPoint includes embedded videos, enable computer sound in Zoom before sharing. Play the first few seconds during a quick test if possible, because audio problems are easier to fix before the presentation has fully started.
Google Slides Sharing On Zoom
Google Slides is convenient for remote teams because it works in a browser and is easy to update. The main challenge is choosing the right browser window or tab when sharing.
1. Open The Deck In A Browser
Open your Google Slides deck in a browser before the meeting and make sure it has fully loaded. If your internet connection is slow, loading the deck during the meeting can cause delays or create awkward silence while participants wait.
2. Use Present Mode For A Clean View
Click Present to show the deck without editing tools, comments, menus, or slide thumbnails. This gives viewers a cleaner experience and keeps them focused on the actual message instead of the behind-the-scenes layout of your presentation file.
3. Share The Presentation Window
In Zoom, select the browser window that shows the presented slide. If you share the wrong tab, participants may see the editing screen, another website, or a blank browser page, so check the preview carefully before clicking Share.
4. Manage Speaker Notes Separately
Google Slides allows speaker notes, but you need to manage them carefully during Zoom sharing. If you want to see notes privately, use a second monitor or a separate notes device so participants only see the slide show.
5. Avoid Too Many Browser Tabs
Too many open tabs can make it harder to find the correct window and may slow down your computer. Close unrelated tabs before presenting so Zoom sharing is easier and your browser has more resources for smooth slide performance.
6. Test Embedded Media
Videos and audio in Google Slides depend on browser permissions, internet speed, and Zoom audio settings. Test media before your meeting, especially if the clip is central to your message or if viewers need to hear specific narration.
Presenter View And Speaker Notes On Zoom
Presenter view can make you more confident because it lets you see reminders while the audience sees only the slide. The key is controlling which screen Zoom shares.
On a single monitor, presenter view can be difficult because Zoom may capture the same screen you are using for notes. In that case, keep notes on paper, a tablet, or a separate document that is not visible to the audience.
With two monitors, you can place the audience slide on one display and speaker notes on the other. Share only the display that contains the slide show, then keep your notes, chat, and timing tools on the private screen.
Before presenting, run a short test meeting or use Zoom preview to confirm what participants will see. This is especially important for confidential meetings where notes may include talking points, internal comments, pricing details, or private reminders.
The best presenter view setup feels invisible to the audience. They should see clean slides, hear your voice clearly, and never have to think about the technical setup behind your delivery.
Common Slide Show Sharing Mistakes To Avoid
Most Zoom presentation problems come from small setup issues. Avoiding these mistakes will make your slide show smoother, clearer, and easier for participants to follow.
1. Sharing The Wrong Screen
One of the most common mistakes is sharing the desktop, editing window, or speaker notes instead of the actual slide show. Always look at the Zoom sharing preview before you click Share, and ask someone to confirm the view if the meeting is important.
2. Forgetting To Share Audio
If your slide show includes video or sound, forgetting computer audio can leave participants watching silently. This is especially disruptive during training, product demos, music lessons, or recorded clips where the audio carries important information.
3. Leaving Notifications Turned On
Pop-up messages, email alerts, calendar reminders, and chat notifications can distract the audience or reveal private information. Turn on focus mode, silence notifications, and close sensitive apps before sharing anything on Zoom.
4. Presenting From Editing Mode
Editing mode makes slides look unfinished because viewers can see menus, sidebars, comments, and design tools. Unless you are teaching slide design, switch to presentation mode so the audience sees a polished and distraction-free slide show.
5. Using Text That Is Too Small
Slides that look fine on your monitor may be hard to read through Zoom, especially for people on small screens. Use larger fonts, fewer words, high contrast, and clear visuals so participants can understand each slide quickly.
6. Not Testing Before The Meeting
Skipping a quick test increases the chance of audio problems, wrong-screen sharing, or presenter view confusion. A two-minute rehearsal can reveal issues before your audience arrives and gives you time to adjust settings calmly.
Best Practices For Sharing A Slide Show On Zoom
Good Zoom slide sharing combines preparation, clear delivery, and simple technical choices. These best practices help you present with fewer interruptions.
Start With A Clean Workspace
Close unrelated apps, hide private documents, and keep only the tools you need for the presentation. A clean workspace reduces distractions and makes it easier to choose the correct screen when Zoom asks what you want to share.
Use Simple Slide Design
Zoom audiences often view slides on different devices, so simple design works best. Use readable text, strong contrast, clear headings, and visuals that support your message instead of filling slides with dense paragraphs or tiny charts.
Speak To The Slide Purpose
Each slide should have a clear reason for being in the presentation. Explain the key point, add helpful context, and move forward before the audience loses focus. Avoid reading every word unless the exact wording matters.
Pause For Questions
Remote audiences may need extra time to process information, especially when they are switching between listening, reading, and using chat. Pause after important sections and invite questions so participants can clarify details before you continue.
Keep Backup Options Ready
Have a backup version of your slide show available in another format, such as a PDF. If PowerPoint, Google Slides, or internet access fails, a backup lets you continue presenting without losing the entire meeting.
End Screen Sharing Clearly
When the presentation is finished, stop sharing your screen before moving to private notes, chat, or follow-up documents. This prevents accidental sharing and signals to participants that the slide show portion has ended.
Practical Slide Show Use Cases On Zoom
Different situations call for slightly different presentation choices. These examples show how slide sharing on Zoom can support common real-world needs.
1. Business Team Meetings
In team meetings, slides help organize updates, priorities, timelines, and decisions. Sharing a focused deck keeps discussion on track and gives remote coworkers a shared reference point instead of relying only on spoken updates.
2. Online Classes
Teachers can use slide shows to explain lessons, show diagrams, review vocabulary, and guide activities. Zoom sharing makes it easier for students to follow the lesson visually, especially when the teacher combines slides with questions and discussion.
3. Sales Presentations
Sales teams can use slides to explain problems, show product benefits, present pricing, and walk through case examples. A clean Zoom presentation helps prospects focus on value instead of getting distracted by technical issues.
4. Webinars And Workshops
Webinars often depend on slides because the audience may be large and mostly muted. A well-structured deck gives the session shape, supports speaker timing, and makes the content easier to absorb from beginning to end.
5. Project Reviews
Project managers can share timelines, risks, milestones, and next steps through slides. This is useful when stakeholders need a quick overview and do not want to search through long documents during a live meeting.
6. Personal Events
Slide shows are also useful for birthdays, memorials, family gatherings, and community events. Sharing photos or stories on Zoom lets people participate from different locations while still feeling connected to the moment.
Advanced Zoom Slide Show Tips
Once you know the basics, a few advanced habits can make your Zoom slide show feel more polished and easier to manage.
1. Use A Second Device For Monitoring
Joining from a second device as a silent participant can show you what the audience sees. Keep the device muted to avoid echo, and use it only as a confidence check during important presentations or rehearsals.
2. Prepare A Short Opening Slide
An opening slide with the meeting topic, date, or session name helps participants know they are in the right place. It also gives you a clean screen to share while people join and settle in.
3. Use Keyboard Shortcuts
Keyboard shortcuts can help you move through slides without searching for buttons. Practice them before the meeting so advancing, going back, starting, or exiting the slide show feels natural during your live presentation.
4. Keep Chat Separate From Slides
If you need to monitor chat, place it on a second screen or ask a co-host to manage questions. Constantly opening chat over your slides can distract participants and interrupt the flow of your presentation.
5. Record A Test Segment
Recording a short test helps you check slide readability, voice clarity, pacing, and media playback. Watching even one minute of the recording can reveal problems that are hard to notice while presenting live.
6. Plan For Slow Connections
Some participants may have weaker internet, so avoid overly fast transitions or slides that change every few seconds. Pause after important visuals and describe key points verbally so people can still follow if the image quality drops.
Slide Show Sharing Checklist
Use this checklist before your Zoom presentation to reduce last-minute problems and make sure your audience sees and hears the right content.
- Deck Ready: Confirm that the final version is open, saved, and arranged in the correct order.
- Correct Window: Choose the slide show or presentation window rather than the editing screen.
- Audio Checked: Enable computer sound if your slides include videos, music, or recorded narration.
- Notes Private: Make sure speaker notes, chat, and private documents are not visible to participants.
- Notifications Off: Silence email, messages, calendar alerts, and system pop-ups before sharing.
- Backup Ready: Keep a PDF or alternate copy available in case your main presentation tool fails.
Frequently Asked Questions
Can I Share A PowerPoint Slide Show On Zoom?
Yes, you can share a PowerPoint slide show on Zoom by opening the deck, starting slide show mode, clicking Share Screen, and selecting the slide show window. For the cleanest result, avoid sharing the editing view unless you are intentionally showing how the deck is built.
How Do I Share Google Slides On Zoom?
Open your Google Slides deck, click Present, then go to Zoom and choose Share Screen. Select the browser window showing the full presentation. If you need speaker notes, use a second monitor or separate device so participants only see the slides.
Why Can People Not Hear My Slide Show Video?
Participants usually cannot hear slide show video when computer audio is not enabled in Zoom. Before sharing, choose the option to share sound. This sends the video audio directly through Zoom instead of relying on your microphone to pick up speaker sound.
Can I See My Notes While Sharing Slides?
Yes, but the setup matters. With two monitors, you can show presenter view on one screen and share only the audience slide on the other. With one monitor, it may be better to use printed notes or a separate device.
Should I Share My Whole Screen Or One Window?
For most slide shows, sharing one window is better because it protects your privacy and reduces distractions. Whole-screen sharing is useful when you need to switch between multiple tools, but it requires more preparation and careful control.
How Can I Make Slides Easier To Read On Zoom?
Use large fonts, short lines, strong contrast, and simple layouts. Avoid crowded slides with tiny text or complex tables. Remember that some viewers may be watching on small screens, so every slide should communicate its main point quickly.
Conclusion
Learning how to share a slide show on Zoom is mainly about choosing the right screen, using presentation mode, checking audio, and keeping private information hidden. Whether you use PowerPoint, Google Slides, Keynote, or another tool, the goal is to give viewers a clean and focused experience.
Before an important meeting, test your setup, review your slides, silence notifications, and confirm what participants will see. A few minutes of preparation can make your Zoom slide show smoother, more professional, and easier for your audience to follow.